


A successful composite decking project begins before the first board is fixed. The layout, support, drainage, edges, steps, access route and product-specific instructions all need to agree with one another. If one decision is left vague, it can affect several parts of the order.
This is a planning checklist rather than a universal fitting manual. Composite boards and support systems differ. The correct spans, gaps, fixings, support points and installation method must come from the current instructions for the exact products being used. Raised, structural or regulated work may also need input from a competent professional.
Use the guide to prepare a clear project brief for Scotts Exteriors, your designer or your installer. Tick off the items that are settled, highlight the ones that are not, and do not cut materials until the remaining technical questions have reliable answers.
Define what the deck needs to do
Begin with use rather than appearance. Write down how the area will be used, who will use it and how people will move through it.
Is the deck a seating terrace outside doors, a route between parts of the garden, a platform for a garden room, a compact coffee area or a larger dining space? Will it contain steps, fixed planters, an outdoor kitchen, access panels or heavy items that need project-specific consideration?
Note the main entry and exit points. Mark door swings, low thresholds and routes to sheds, gates, lawns and bins. A beautiful board pattern is less useful if it narrows a busy path or creates an awkward level at the house.
List anything that may change later. If a garden room, balustrade, pergola or large planter is planned, it should not be treated as an afterthought. Its support and fixing requirements may be separate from the deck surface.
The first checklist answer should be a short description of the completed space. That description keeps later colour and layout decisions connected to the real job.
Produce a measured site drawing
Draw the area from above. Record full lengths and widths, then add walls, doors, corners, posts, drains, inspection covers, trees, pipes, vents and changes of level. Use more than one measurement to check whether an apparently square area is actually square.
Add an elevation for every visible side. This shows the deck height, exposed edges, steps and relationship to paving, lawn or planting. A separate detail sketch is useful around doorways and unusual corners.
Photograph the site from each direction and label the images to match the drawing. Include close views of drains, thresholds and obstructions. Photographs provide context, while measurements provide the dimensions; neither should replace the other.
Divide a complex footprint into simple zones for calculating area, but retain one master drawing. Mark which measurements are confirmed and which still need checking. Do not estimate a hidden dimension and then treat it as final.
If an installer is responsible for the final survey, agree that responsibility in writing. A homeowner’s sketch can start the conversation, but the person designing the support and fitting the system should verify the site information they rely on.
Check the existing ground or surface
What lies beneath the proposed deck affects the whole design. The area may be soil, lawn, paving, concrete, an existing deck or a mixture of surfaces. It may be level, sloping or uneven. Water may already collect in places after rain.
Record the condition rather than assuming the deck will hide it. Look for movement, cracking, soft areas, vegetation, standing water and signs that an existing structure has failed. Do not cover an unknown defect without appropriate investigation.
The support design needs to suit the real base and the intended deck height. A composite joist is one available component in the Scotts accessory range, but selecting a joist does not by itself design a foundation or raised structure.
Ask who will specify the foundation and support arrangement. Confirm how loads reach a suitable base, how levels will be established and how the structure will remain accessible where inspection is needed. If the project is raised, unusually shaped or close to a building, professional design may be appropriate.
Plan drainage and ventilation routes
An outdoor deck needs a clear plan for water around and beneath it. Record the natural fall of the site, existing drainage points and any place where water currently sits. Check that the proposal does not block air bricks, drainage channels, inspection covers or other building features.
Water should not be trapped by a border, support or poorly considered transition. The exact fall, clearance and drainage detail must be designed for the site and system. Do not invent a universal number from an unrelated online guide.
Ventilation and space beneath the boards also need project-specific consideration. A low deck over a confined area is different from an open-sided raised structure. Ask how air and water will move through the completed build and how debris can be managed.
Review the plan at every edge. Where does water go at the house, garden side, steps and meeting point with paving? What happens during heavy rain? Who is responsible for confirming the detail?
Keep drainage visible on the drawing. It is easier to protect an existing route before the frame is built than to rediscover it after the surface is complete.
Confirm planning, building and safety responsibilities
Not every deck has the same planning or building implications. Height, size, location, boundaries, access and relationship to a building can all matter. A general product page cannot determine what applies to a particular property.
Ask the relevant local authority or a suitably qualified professional when permission, building requirements or other approvals may apply. Raised decks, guarding, steps and structures near boundaries deserve particular care. Keep written advice with the project record.
Clarify who designs the support, who checks the substrate, who confirms any guarding or step geometry and who signs off the installation against the chosen product guidance. “The installer will deal with it” is not a useful allocation unless the installer has accepted the responsibility and has the required information.
Product selection is separate from approval. A composite board’s appearance, warranty statement or online description does not prove that a proposed structure or location is compliant.
Obtain the exact product information
Choose the actual board and accessory system before finalising technical details. The Scotts composite decking collection currently includes 2.8m, 3.6m and 4m boards across the listed colour options. The accessories collection includes a black composite joist, colour-related L trims and step edges.
Request or locate the current information for every selected component. Check that the product name, profile, length and version match the item being ordered. Do not use an instruction sheet for a similar-looking board from another supplier.
Read the documents fully before materials arrive. Highlight requirements covering storage, support, board ends, gaps, clips, fixings, edges, steps, temperature or site conditions and any restrictions on use.
If the guidance leaves a question, ask the supplier or manufacturer and retain the response. Avoid filling a gap with a forum answer or a measurement remembered from another project.
Choose board direction and joint positions
Mark the proposed board direction on the plan. Consider the main view from the house, the direction of movement and the dimensions each row must span. The choice affects board quantities, cuts, joints, support and edge details.
Draw every planned joint rather than allowing board ends to fall wherever a length runs out. Joints need approved support and should form a controlled visual pattern. Check how they look from doors, seating areas and the main garden approach.
If the design changes board direction, show the transition clearly. A picture-frame border, separate zone or diagonal layout can add complexity beneath the surface. Confirm the structural and fixing detail before choosing it for appearance alone.
Compare the available stock lengths with the row-by-row cutting plan. The 2.8m, 3.6m and 4m board-length guide explains how colour, cuts and usable offcuts influence the choice.
Design the support around the board system
The support layout must suit the exact board, board direction, joints, edges and steps. It should not be copied from a generic diagram without checking compatibility.
On the plan, mark the joist direction, perimeter support, board ends, joints, step edges and any feature that requires additional support. Show how the frame relates to foundations or support points beneath it.
Ask the responsible person to confirm the permitted joist spacing, support intervals, fixing method and treatment at board ends. Record the source of each requirement. If different components have different rules, the complete design needs to satisfy the relevant conditions.
Do not notch, drill or modify support components by assumption. Check whether the proposed work is permitted and how it affects the system. The same applies to attaching balustrades, pergolas, screens or other structures. They may need independent support rather than relying on deck boards or standard joists.
Resolve gaps and material movement
Composite decking systems normally include instructions for spaces between boards and at fixed features. The correct values can depend on the product, board length, installation conditions and location. Use only the current guidance for the selected system.
Mark walls, posts, steps, borders, drains and changes of material. Ask what gap or movement detail is required at each one. A trim may conceal part of a junction, but it should not be used to ignore the underlying requirement.
Confirm how board ends meet and how long runs are treated. Check whether the installation conditions need to be recorded and whether the guidance provides a method for calculating the required allowance.
Do not force boards tightly into a space because the dry layout looks neater. Equally, do not choose a random generous gap in the hope that it will cover every condition. The approved system detail is the answer.
Confirm clips, fixings and starting details
The current Scotts board offer includes clips and fixings, but a complete project check should confirm exactly what comes with the chosen order. Ask whether starter, finishing or special-location parts are needed in addition to the standard supplied components.
Match every clip and fixing to the board and support system. Keep unconfirmed general-purpose screws out of the material list. Check required tools, access and the sequence for the first and last boards.
Mark any area where the standard fixing route may be obstructed by a wall, step, planter or change of direction. Resolve the detail before building the support frame.
Count the supplied packs on delivery and keep them labelled. If more than one board or accessory type is present, prevent components from being mixed. The decking accessories guide provides a fuller overview of clips, joists, trims and step edges.
Detail exposed edges, corners and steps
Use the elevations to identify every visible side. Decide which edges remain open, meet another surface or use a compatible finishing profile. Scotts lists L trims and 3.6m step-edge products in five colour families, but their suitability must be confirmed for each detail.
Draw corners and joins at a larger scale. Show how a trim ends at a wall, how two lengths meet and where a step edge relates to the boards behind it. Decide whether colours match or contrast.
Steps require a complete design, not just an edge piece. Confirm levels, dimensions, support, guarding where relevant and the safe relationship to doors and paths. Use a competent professional when the project requires it.
Check the finished surface level at every transition. A detail beside paving, lawn or a threshold can affect the frame height and drainage plan. Resolve it before materials are cut.
Build and check the full material schedule
Create a schedule for boards, supports, clips, fixings, trims, step edges and any other approved component. Link each quantity to a measured area, linear run or named detail on the drawing.
Use the Scotts decking calculator for an initial estimate, then reconcile the result with the cutting and support plans. The tool can help structure the order, but it cannot see unrecorded obstacles or approve the installation design.
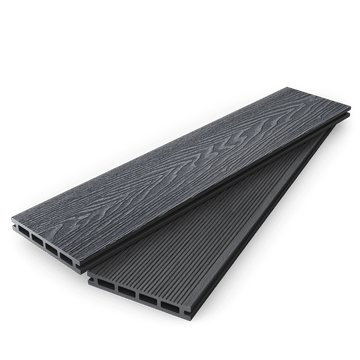
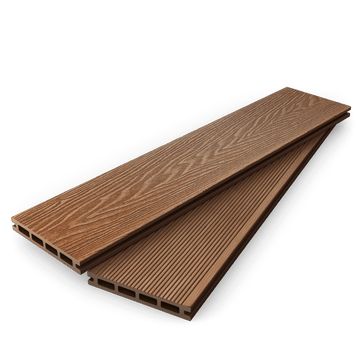
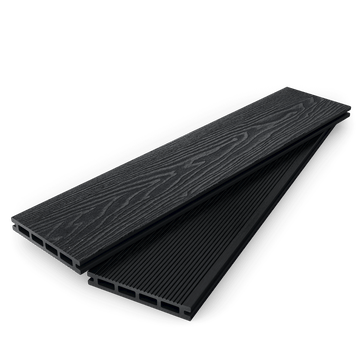
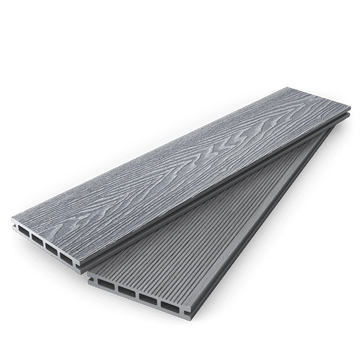
Check colour and length availability against the live catalogue. Confirm whether Dark Grey, Charcoal, Light Grey, Teak or Coffee is available in the selected board length. Do not build a schedule around an assumed option.
Allow for planned cuts based on the actual layout. Avoid adding arbitrary spare material to every line without considering how products are sold and used. A board offcut does not automatically replace a trim or step edge.
Have the person responsible for installation review the final schedule before ordering.
Prepare delivery, storage and site access
Measure the delivery and carrying route. Check gates, corners, steps, overhead restrictions and the distance to the work area. Longer boards require suitable handling and storage space.
Agree where materials will be placed. Prepare a location that follows the product guidance and keeps boards supported, clean and protected. Separate colours and component types. Do not stack materials where they block an exit, drain or working route.
Plan who will inspect the delivery. Compare product names, lengths, colours, quantities, visible condition, clips and accessories with the order confirmation before signing off or cutting anything.
If site conditions have changed since the survey, stop and update the plan. New landscaping, altered levels or another contractor’s work can affect a previously suitable layout.
Questions to agree with the installer
Before the installation date, obtain clear answers to these questions:
- Who has verified the final site measurements?
- Who designed and approved the foundation and support arrangement?
- Which product instructions and version are being followed?
- What board direction and joint pattern will be used?
- How are board ends and joints supported?
- How will drainage and ventilation be maintained?
- What product-specific gaps and movement details apply?
- Which clips and fixings are included and which are additional?
- How will exposed edges, corners and steps be finished?
- How will thresholds, drains and other fixed features remain clear?
- Who checks the materials before cutting?
- What happens if the site differs from the drawing?
Record the agreed answers on the project documents. A verbal assumption made weeks earlier is easily lost.
Final pre-installation check
On the last review before work begins, place the drawing, product instructions and material schedule together. Confirm that all three describe the same deck.
Walk the site from delivery point to finished area. Recheck dimensions, levels, obstacles, drainage routes and access. Verify the board length, colour and profile. Count the accessories and identify where each type will be used.
Do not begin if a technical detail remains unresolved, the materials do not match the confirmation or the support design has changed. Pause and obtain the right answer before cutting or fixing.
A careful planning stage does not remove every site challenge, but it makes decisions visible and assigns responsibility. That is the purpose of this checklist: a deck based on verified information rather than a chain of convenient assumptions.
When the plan is ready, compare the current Scotts composite decking range and project accessories, then contact Scotts with the measured drawing and the questions that remain.


